Cockpit
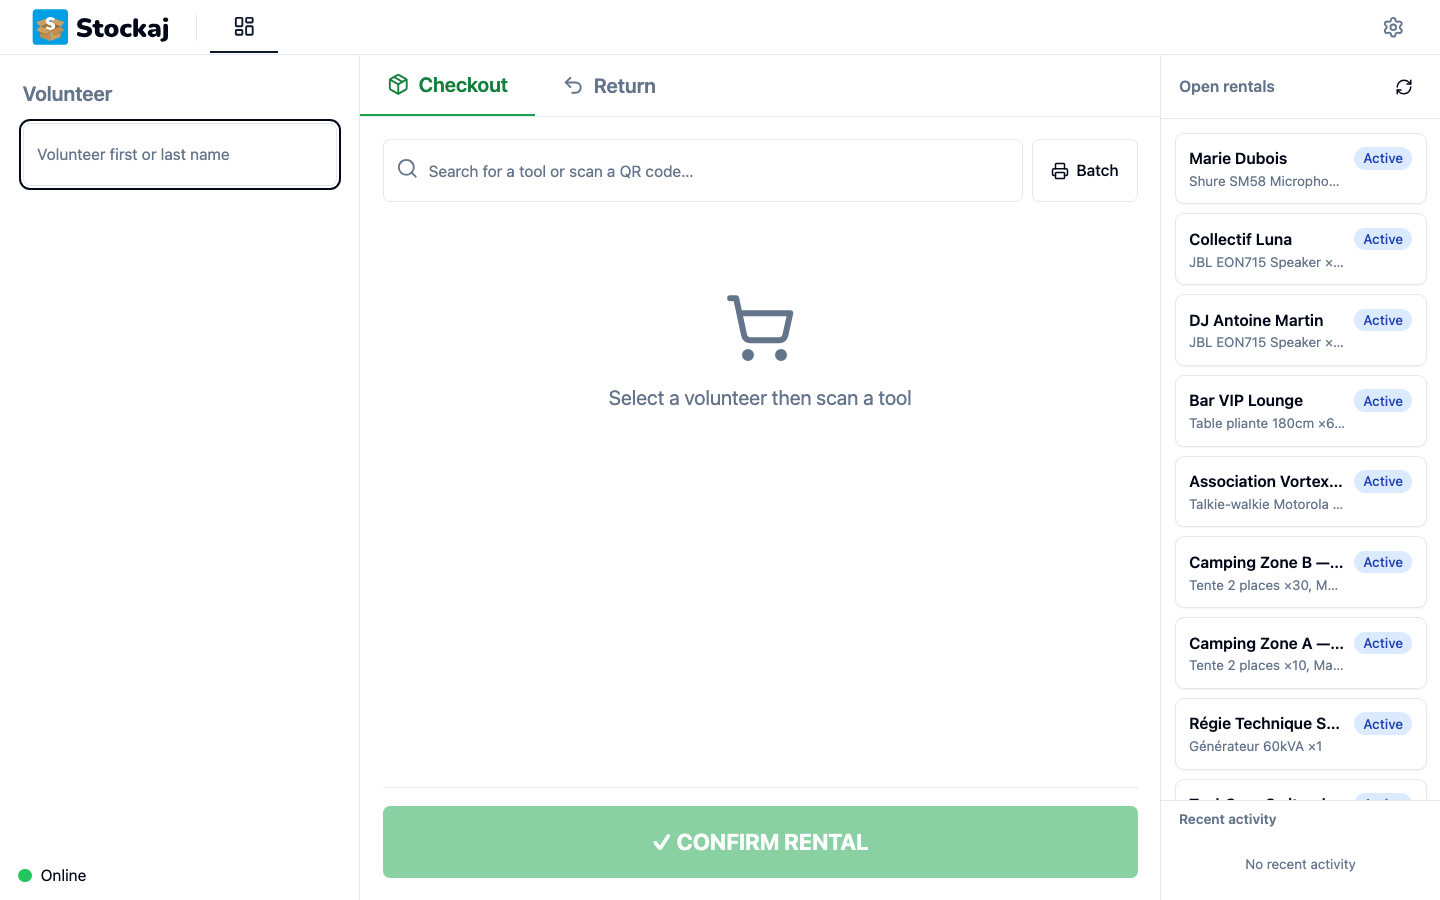
The cockpit is the main screen of Stockaj Kiosk. From a single screen you can rent, sell, return and consume equipment, look up a volunteer's open rentals, and print labels.
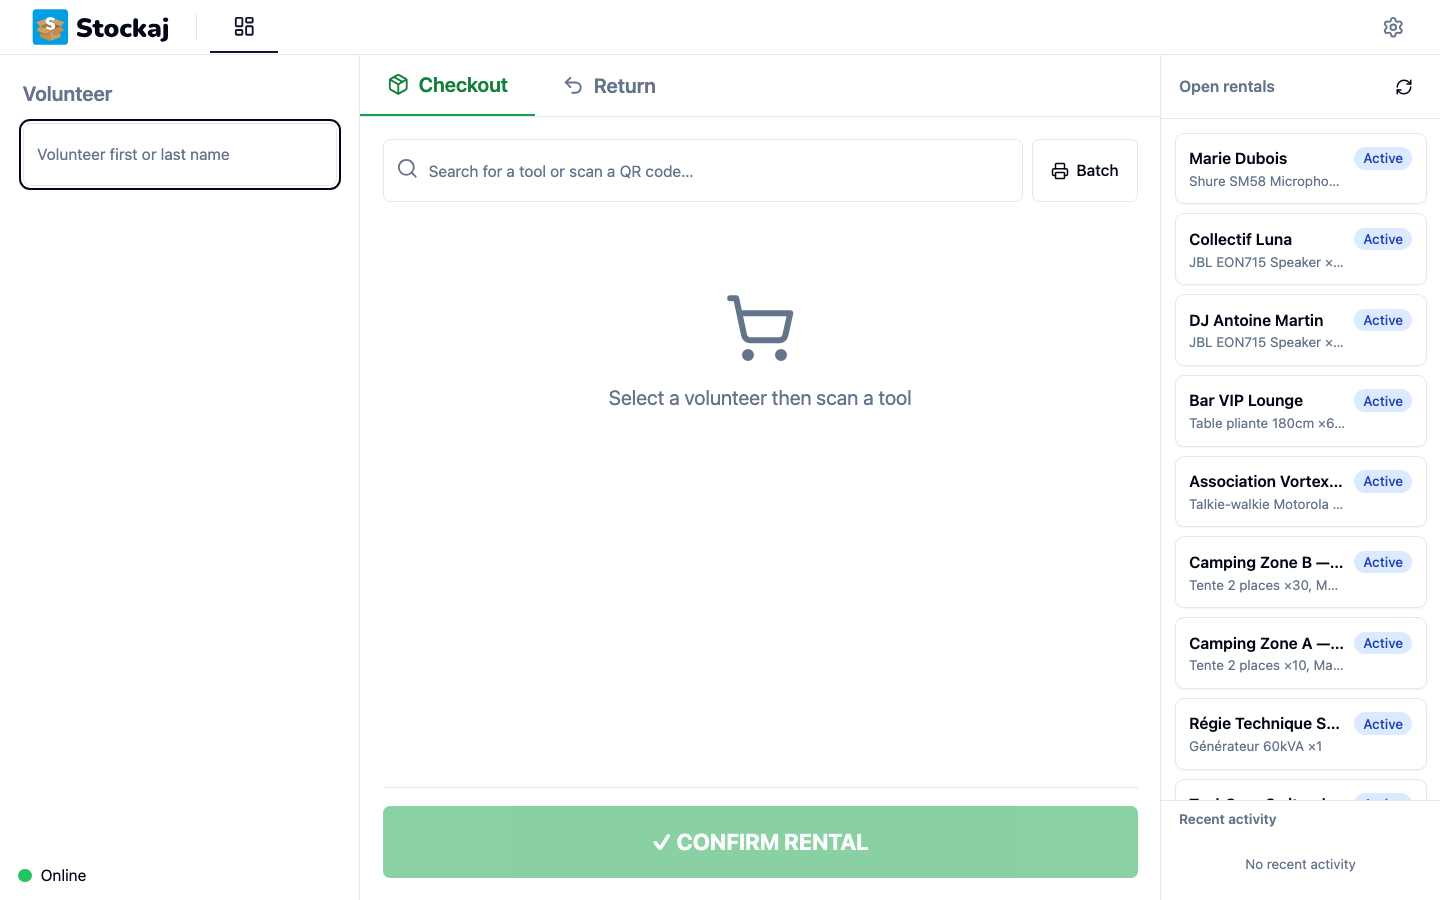
Screen Layout
The cockpit is organized into a sticky header, a mode bar, the main work area, and a side panel.
┌─────────────────────────────────────────────────────────┐
│ [🔍 Volunteer ▾]                  [🖨 Print volunteer label]│  ← header
├─────────────────────────────────────────────────────────┤
│ [Rental] [Sale] [Return] [Rental & return] [Consumption] │  ← modes
├──────────────────────────────────────────┬──────────────┤
│                                          │ Open rentals  │
│            Active mode content           │ ──────────────│
│                                          │ Recent        │
│                                          │ activity      │
└──────────────────────────────────────────┴──────────────┘
| Area | Content |
|---|---|
| Header | Volunteer search (popover) and the Print volunteer label button |
| Mode bar | Mode tabs — each shows a count badge when relevant |
| Main area | The active mode (rental, sale, return, session or consumption) |
| Side panel | Open rentals across all volunteers and a Recent activity feed |
On small screens the side panel collapses behind a button in the header and opens as an overlay.
Volunteer Search
A volunteer (the person borrowing or returning equipment) is selected from the search box in the header.
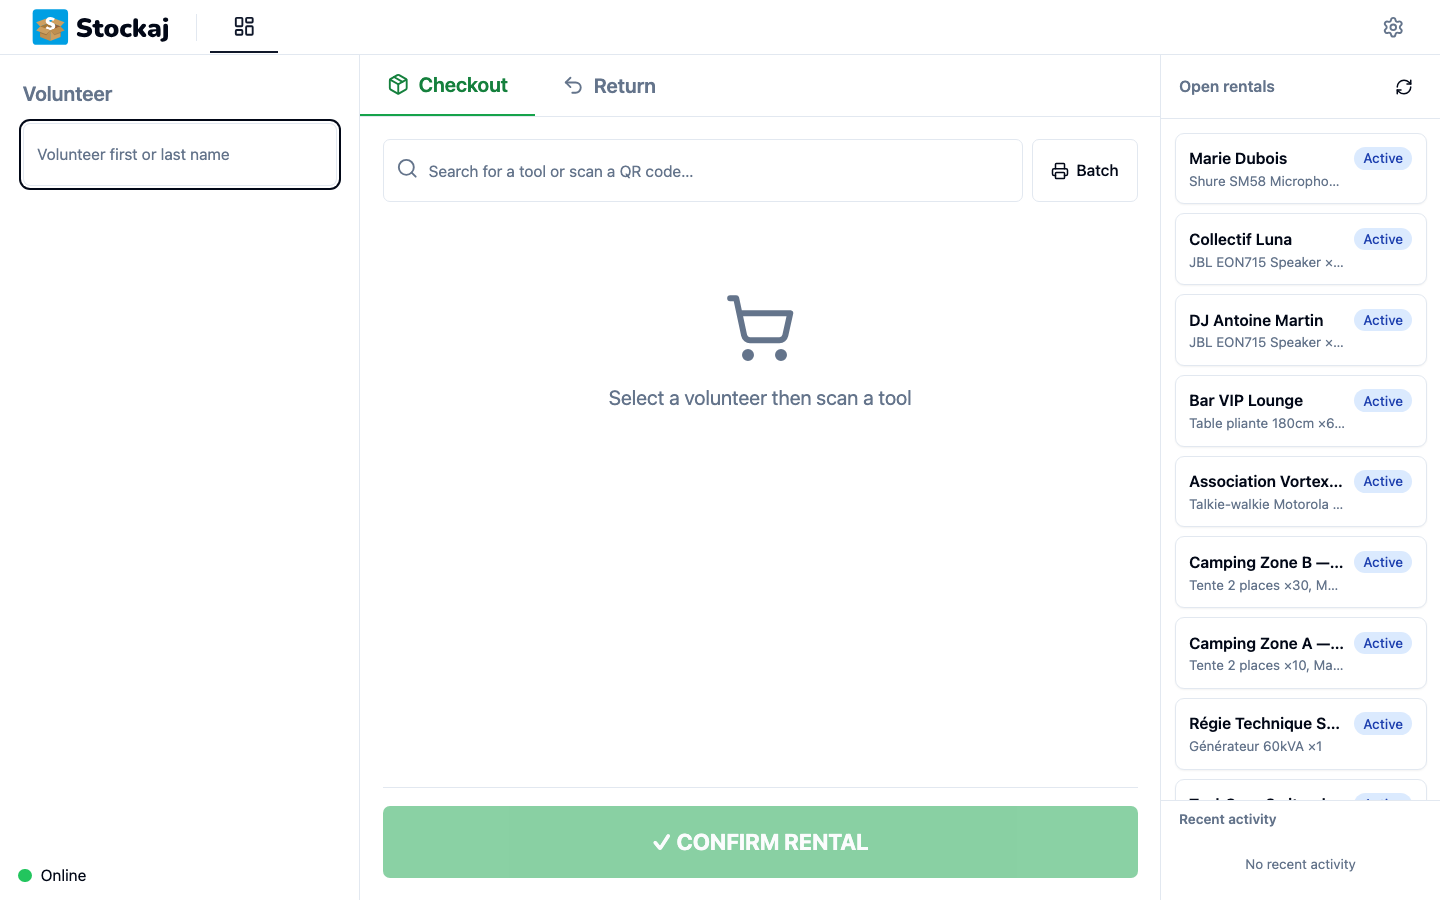
Searching for a Volunteer
Type a first or last name to open the results popover. Each result shows the volunteer's name, and a badge with their number of active rentals when applicable. Recently selected volunteers appear under Recent volunteers before you start typing.
Creating a Volunteer
If nobody matches, click Create "{name}" to add the volunteer on the fly without leaving the cockpit.
Selection
Click a volunteer to select them. Their active rentals are loaded automatically, and the Return and Rental & return modes become usable. Click Change to pick a different volunteer.
Filtering by Sector
If your volunteers are tagged by sector (their renter tags in Stockaj), the search lets you narrow results by sector tag — useful when many people share similar names.
Modes
The mode bar switches the cockpit between five tasks. Each mode has its own color and icon:
| Mode | Purpose |
|---|---|
| 🟢 Rental | Lend equipment that must be returned |
| 🔵 Sale | Hand out items one-way (no return expected) |
| 🟠 Return | Record returns of previously borrowed equipment |
| 🟦 Rental & return | Take items back and lend new ones in a single confirmation |
| 🟣 Consumption | Record consumables that are used up and never come back |
Sale and Consumption are optional and can be hidden in the settings. Rental, Return and Rental & return are always available.
Smart Scanner
The QR code / barcode scanner is always active on the cockpit. The kiosk reads the scanned item's state and reacts automatically:
| Situation | Behavior |
|---|---|
| The scanned item is part of an active rental | Selects the volunteer and routes the item to a return |
| The scanned item is available | Adds the item to the rental cart |
| A volunteer QR code is scanned | Selects that volunteer |
| The item is not found | Shows an error and plays an error sound |
Rental Mode
Rental mode lends equipment that must be returned later.
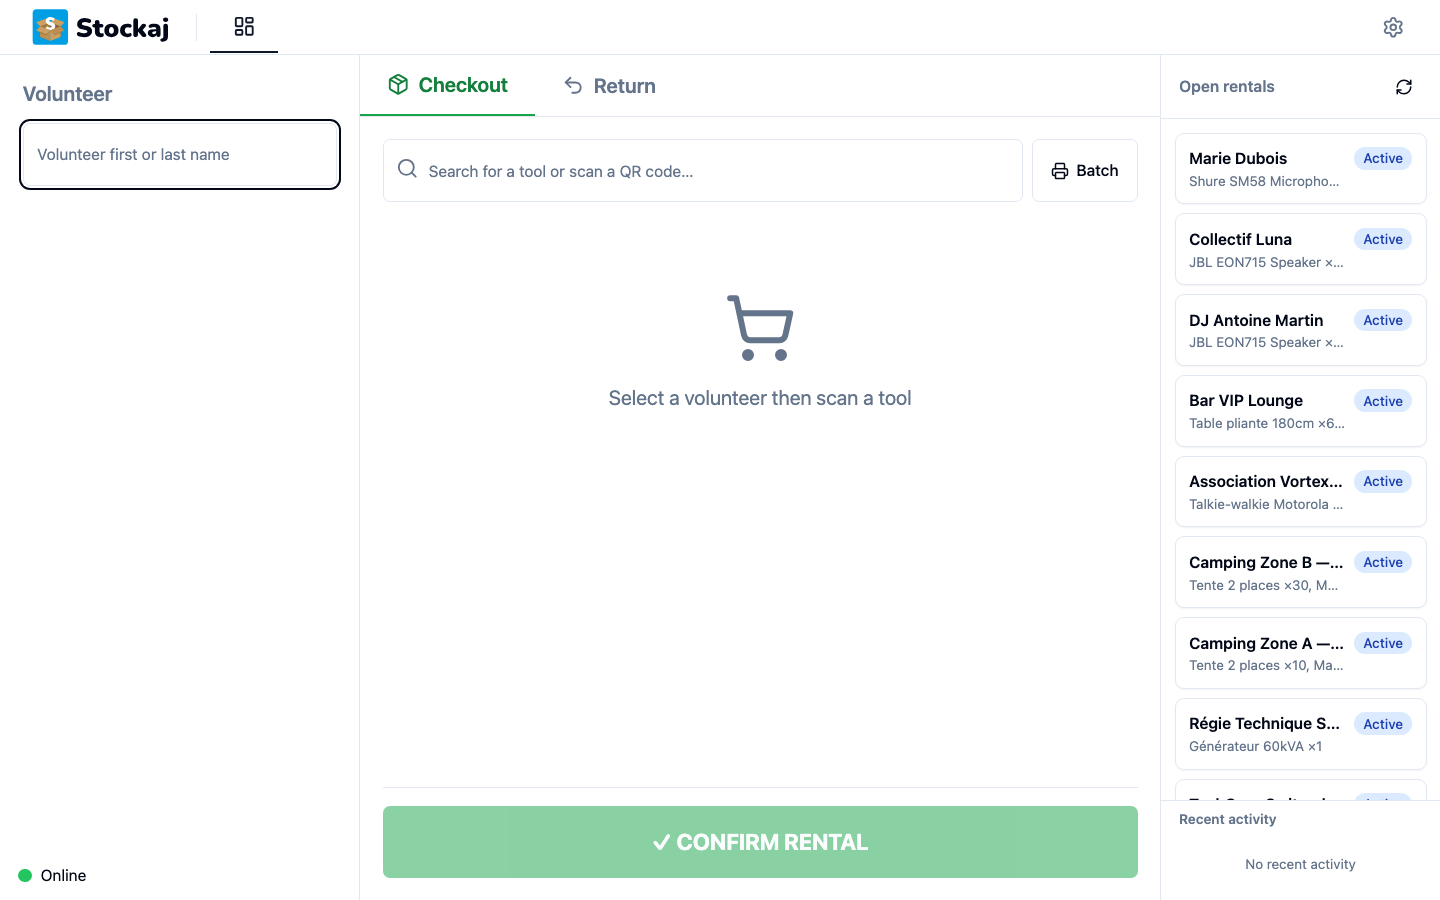
Add Items by Scanning
Scan an item's QR code or barcode to add it to the cart. Scanning an item already in the cart increases its quantity.
Add Items by Search
Use the Search or scan field to find an item by name or code. The list shows tools by default and filters as you type. Each result shows the item name, its code, and Available: N. Click a result to add it.
If no item matches, you can create one on the spot:
| Button | Action |
|---|---|
| Create a new tool | Opens a dialog to register a brand-new item |
| Create a serialized variant | Creates a serial-numbered unit under a parent tool |
The Cart
Each cart row shows the item name and code, a badge indicating whether it is To return (a rental) or a Consumable, a quantity control, a remove button, and a print label button.
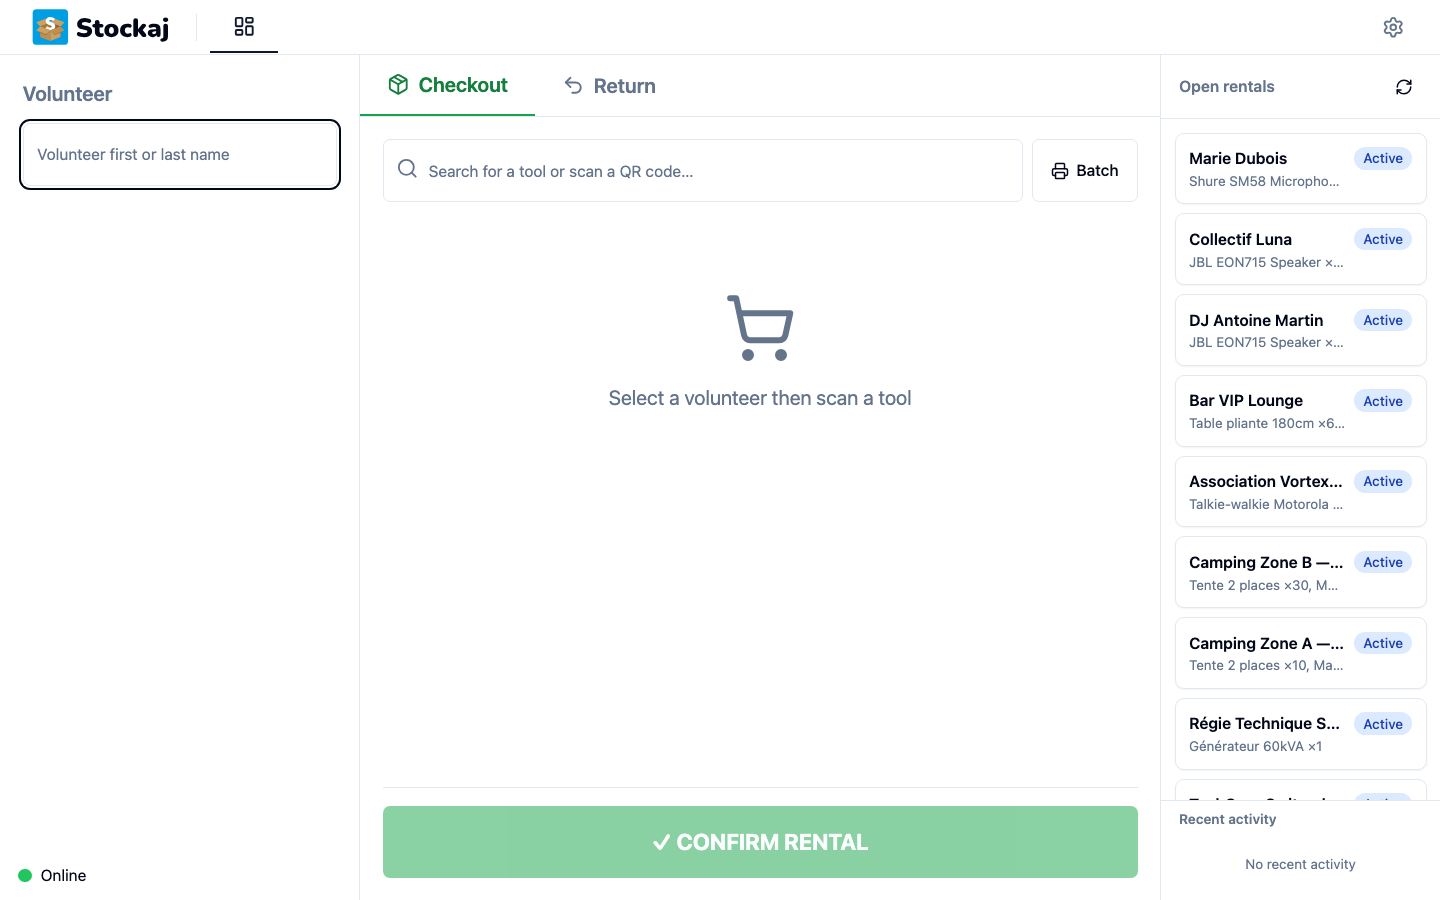
If the requested quantity exceeds available stock, a warning is shown: Insufficient stock (available: N). The warning is informational and does not block confirmation.
If a cart mixes returnable items and consumables, the kiosk creates two movements automatically — one rental and one consumption — so consumables are never expected back.
Confirm
The ✓ CONFIRM RENTAL button sends the rental to the server. It is disabled until a volunteer is selected and the cart contains at least one item. Use Batch print to print labels for several tools at once.
Return Mode
Return mode records the return of borrowed equipment.
Choosing What to Return
Select a volunteer (or pick any rental from Open rentals) to list their active rentals, then choose the rental to process. You can also use Find by code to type a short or STK code from a printed sheet when a label is missing or too small to scan.
Return Details
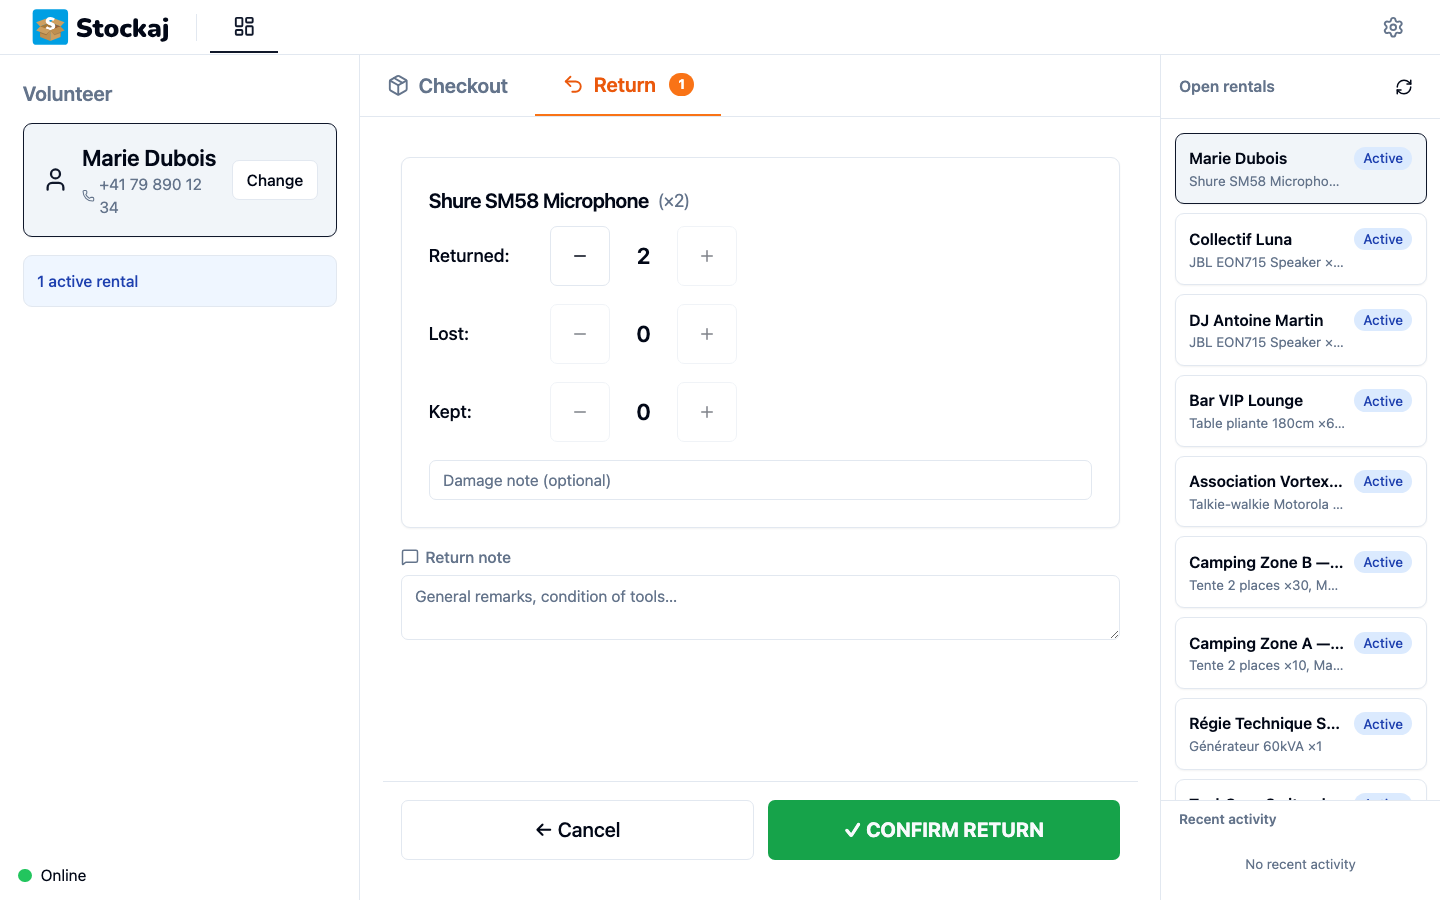
For each item you record how many units are Returned, Lost, or Kept. For single-quantity items these are simple buttons; for multi-quantity items they are counters whose total cannot exceed the borrowed quantity. A damage note and a general return note can be added.
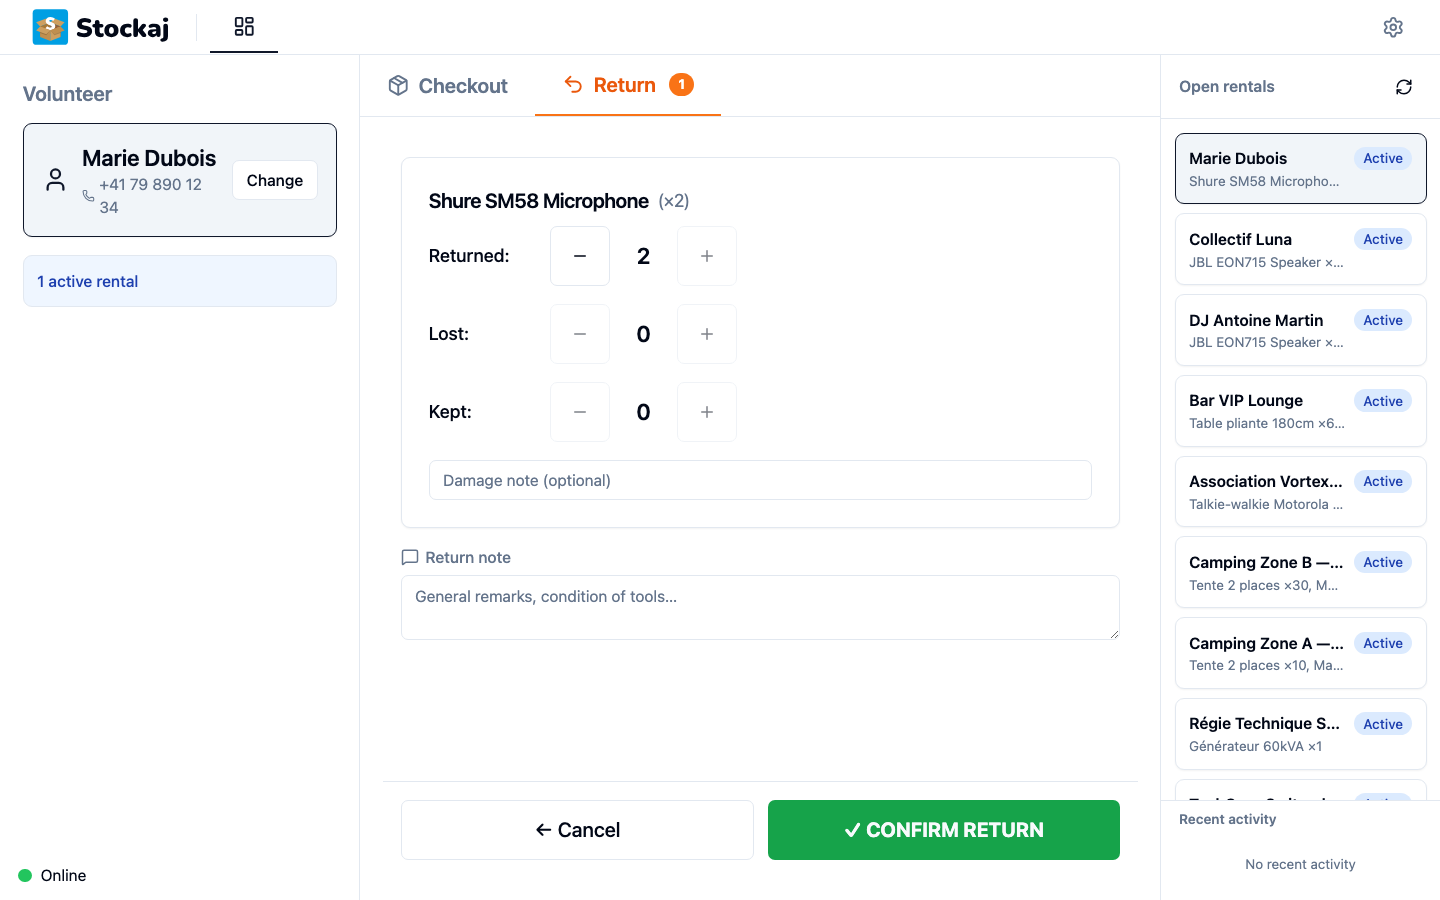
Consumables are marked return not expected and don't need to be returned. If a rental contains only consumables, the kiosk shows Nothing to return.
Confirm
- ✓ CONFIRM RETURN closes the rental when everything is accounted for.
- ✓ PARTIAL RETURN records the returned units and keeps the rental open for the items still kept.
Rental & Return (Session)
The Rental & return mode combines a return and a new rental for the same volunteer in one confirmation. The returns panel and the rental panel sit side by side: scan items being handed back and they route to the return; scan available items and they go to the new rental. A filter box helps you find a specific rental line quickly.
A single ✓ CONFIRM SESSION button submits both the return and the new rental together.
Sale Mode
Sale mode hands out items one-way — no return is expected. It works like rental mode (scan or search, build a cart, confirm) but the items are recorded as sold rather than loaned. Sale mode is optional and may be hidden in the settings.
Consumption Mode
Consumption mode records consumables that are used up on site and never come back (cable ties, tape, batteries…). Build a cart of consumables and confirm. Consumption mode is optional and may be hidden in the settings.
Side Panel — Open Rentals & Activity
The side panel shows information that's useful in every mode:
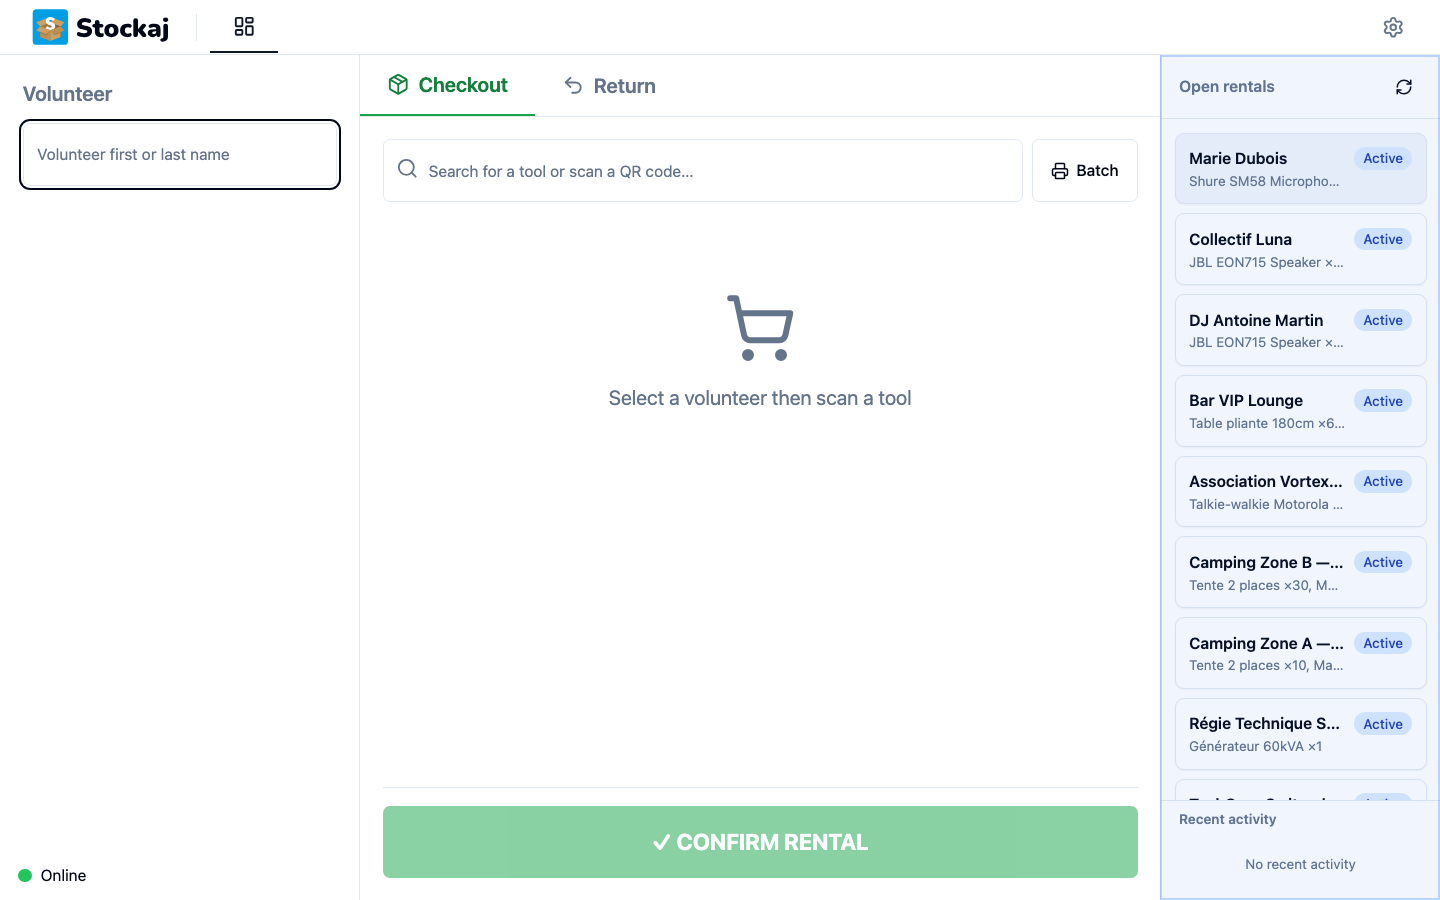
- Open rentals — every open rental across all volunteers, with a refresh button and a filter box. Click a rental to select its volunteer and jump to the return. Each card shows the volunteer name, the borrowed items and a status badge (Active, Overdue).
- Recent activity — a timestamped feed of the latest checkouts and returns performed on this terminal.
Confirmation Screen
After confirming any operation, a fullscreen confirmation is shown with a large green icon, the operation name (e.g. Rental confirmed!) and the volunteer's name.
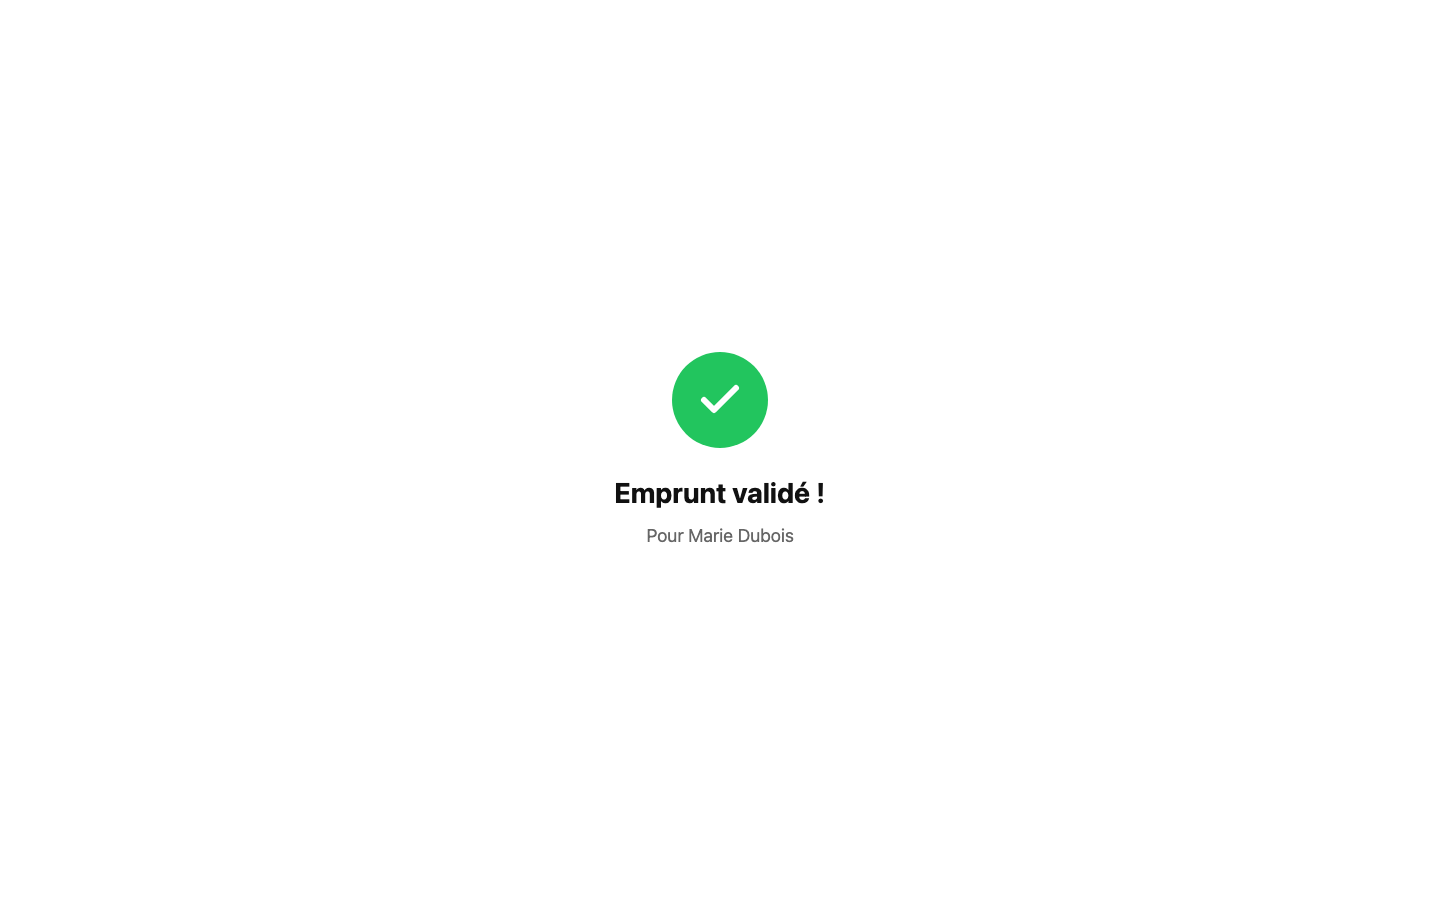
The screen closes automatically after a few seconds and resets the cockpit. You can also dismiss it by clicking anywhere or pressing Enter / Space.
Printing Labels
When label printing is enabled, you can:
- Print volunteer label from the header — a QR badge for the selected volunteer.
- Print a label from any cart row — a QR label for that item or variant.
- Batch print several item labels at once from the rental cart.
With a printer configured, printing is one click; otherwise the system print dialog opens.
Offline Operation
If the server is unreachable when you confirm, the operation is queued locally and synced automatically once connectivity returns. The confirmation screen is still shown, so volunteers are never blocked.
For more information, see the Offline Mode page.