Initial Setup
On first launch, Stockaj Kiosk automatically displays the setup screen. This screen connects the kiosk to your Stockaj instance.
Quick Setup (QR / file)
If your administrator gave you a configuration code, you can pre-fill every field at once instead of typing them by hand. In the Quick setup panel, scan the configuration QR code or paste the content you were given:
STK-CFG:1:… or raw JSON
Click Apply configuration and confirm. The URL, token, PIN and other options are filled in automatically — review them, then save. A configuration can also turn on kiosk mode at launch.
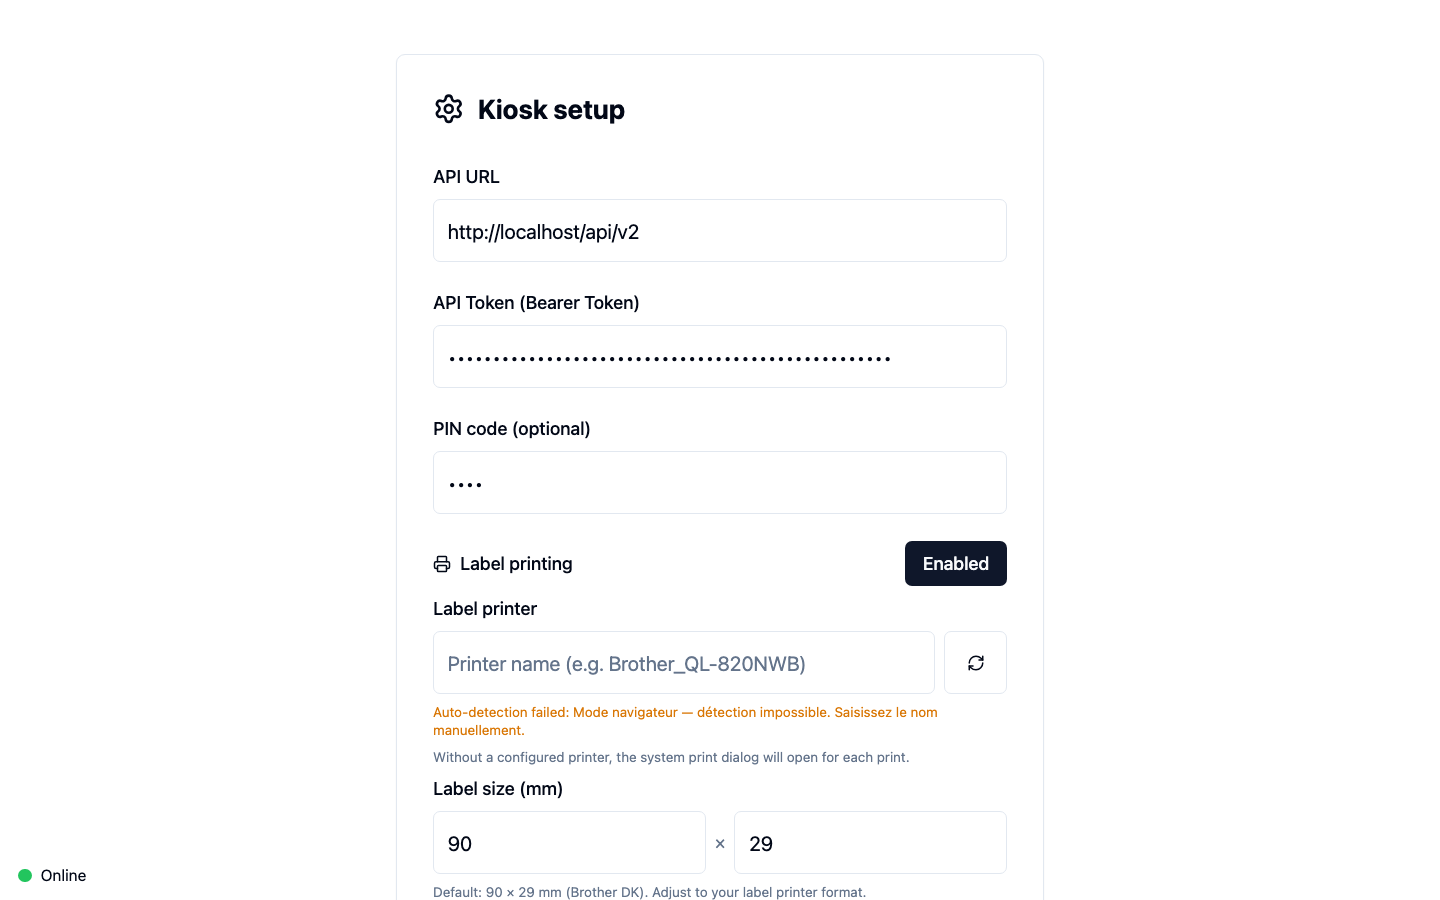
Configuration Fields
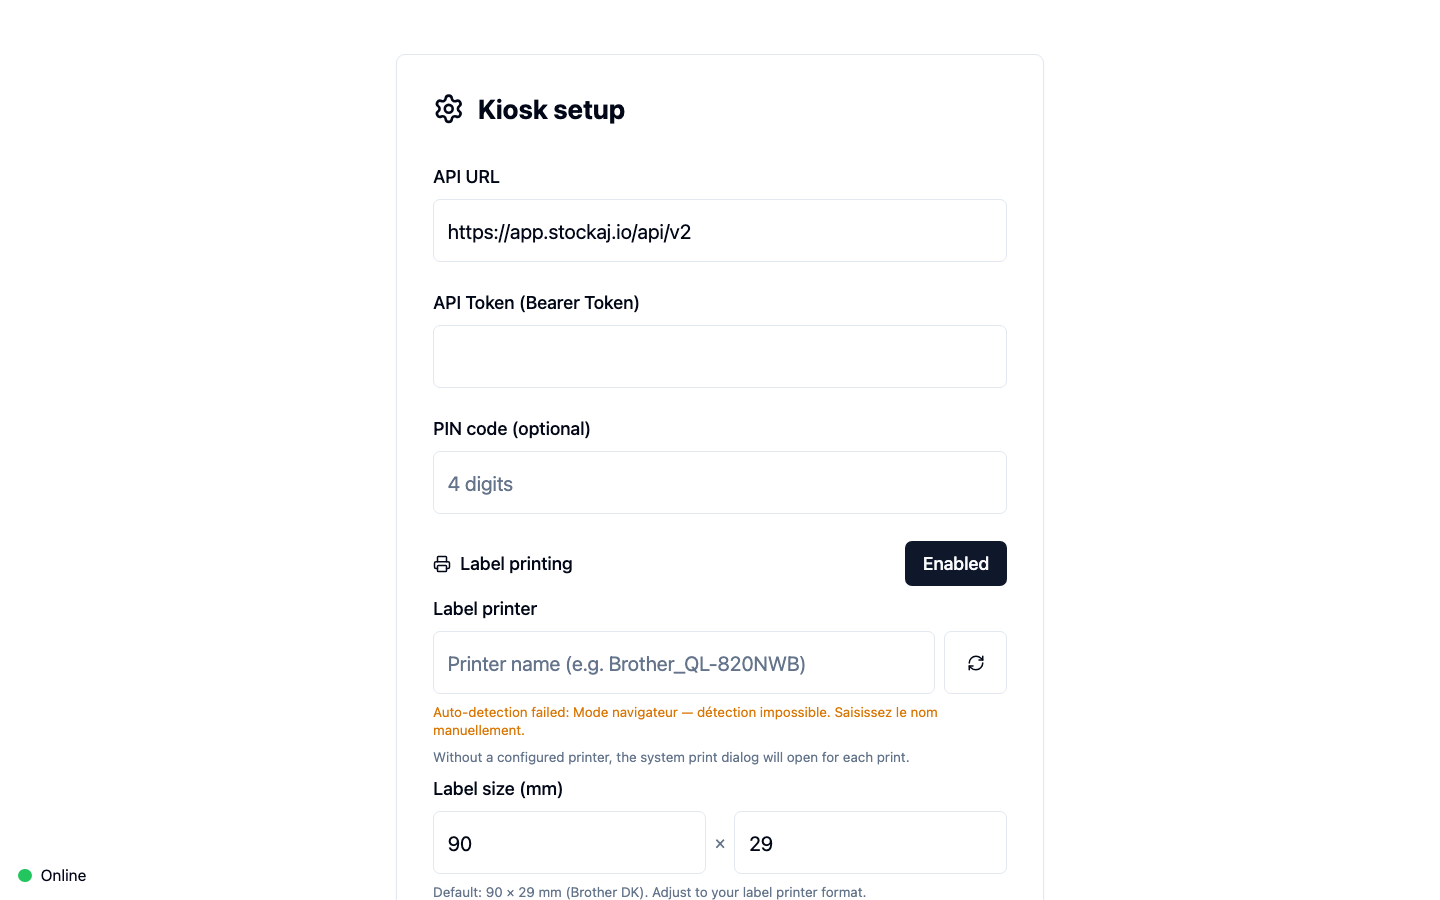
API URL
The address of your Stockaj server. The default value is:
https://app.stockaj.io/api/v1
Only change this value if you are using a self-hosted Stockaj instance.
API Token (Bearer Token)
The authentication token that allows the kiosk to communicate with the API. This token is generated from the Stockaj admin interface.
- Log in to your Stockaj interface
- Go to Settings → API Tokens
- Create a new token with kiosk permissions
- Copy the token and paste it into this field
The token is stored locally on the machine. Make sure only authorized personnel have access to the workstation.
PIN Code (optional)
A 4-digit code that protects access to this setup screen. If a PIN is set, it will be required every time a user tries to access settings from the navigation bar.
- Only digits are accepted
- Maximum 4 characters
- Leave empty to disable protection
Label Printing
Enable label printing to print volunteer and item QR labels directly from the cockpit.
| Setting | Description |
|---|---|
| Enabled / Disabled | Master toggle for label printing |
| Label printer | Choose a detected printer, or leave as None (print dialog) to use the system print dialog |
| Label size (mm) | Width × height of your labels — default 90 × 29 mm (Brother DK) |
With a printer configured, printing is one click. Without one, the system print dialog opens for each label. Use the Detect button to refresh the list of available printers.
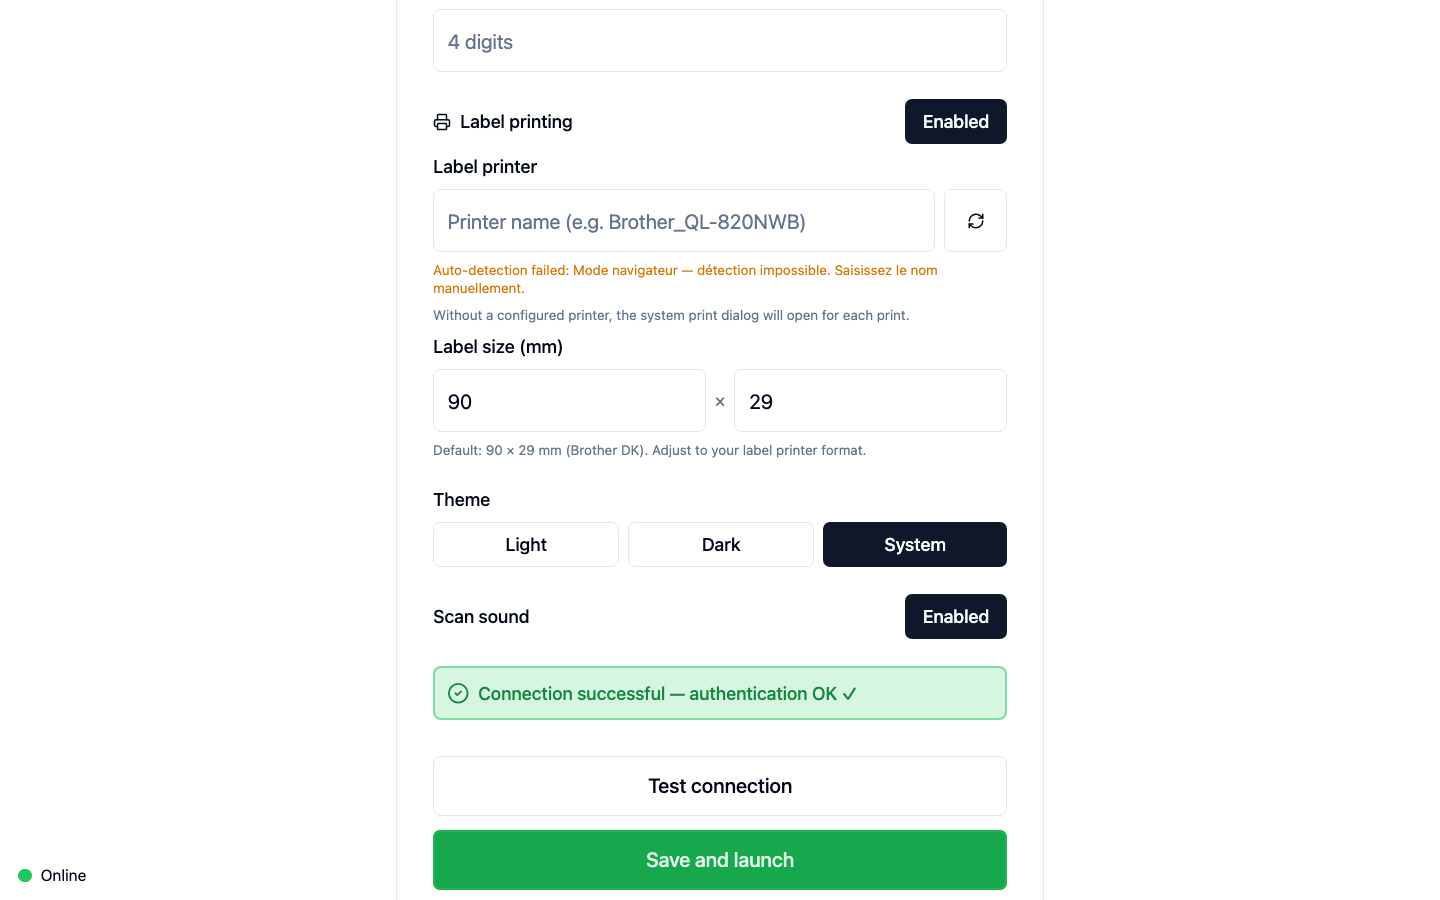
Theme
Choose how the interface looks: Light, Dark, or System (follows the operating system).
Scanner & Behavior
| Setting | Description |
|---|---|
| Scan sound | Play a sound on each successful or failed scan |
| Initial rental status | Whether new rentals start as In treatment (a draft to finalize later) or Ongoing (immediately active) |
| Auto-link rental + consumption | When a cart mixes returnable items and consumables, automatically split them into a rental and a consumption movement |
| Search synonyms | Extra search aliases so volunteers find tools by everyday names. One tool per line, in the form main name: alias1, alias2 (e.g. drill: perforator, auger) |
Menu Visibility
Under Visible menu entries, choose which screens appear in the navigation bar:
- Cockpit — shows the cockpit and assisted mode entries
- Bulk return — shows the What's out? entry
Cockpit Modes
Under Visible cockpit modes, toggle the optional cockpit modes:
- Sale — one-way sales
- Consumption — consumables used up on site
The Rental, Return and Rental & return modes are always available.
Test Connection
Before saving, you can verify the connection works by clicking "Test Connection".
| Result | Display |
|---|---|
| ✅ Success | "Connection successful — authentication OK ✓" (green text) |
| ❌ Failure | An error message (red text) |
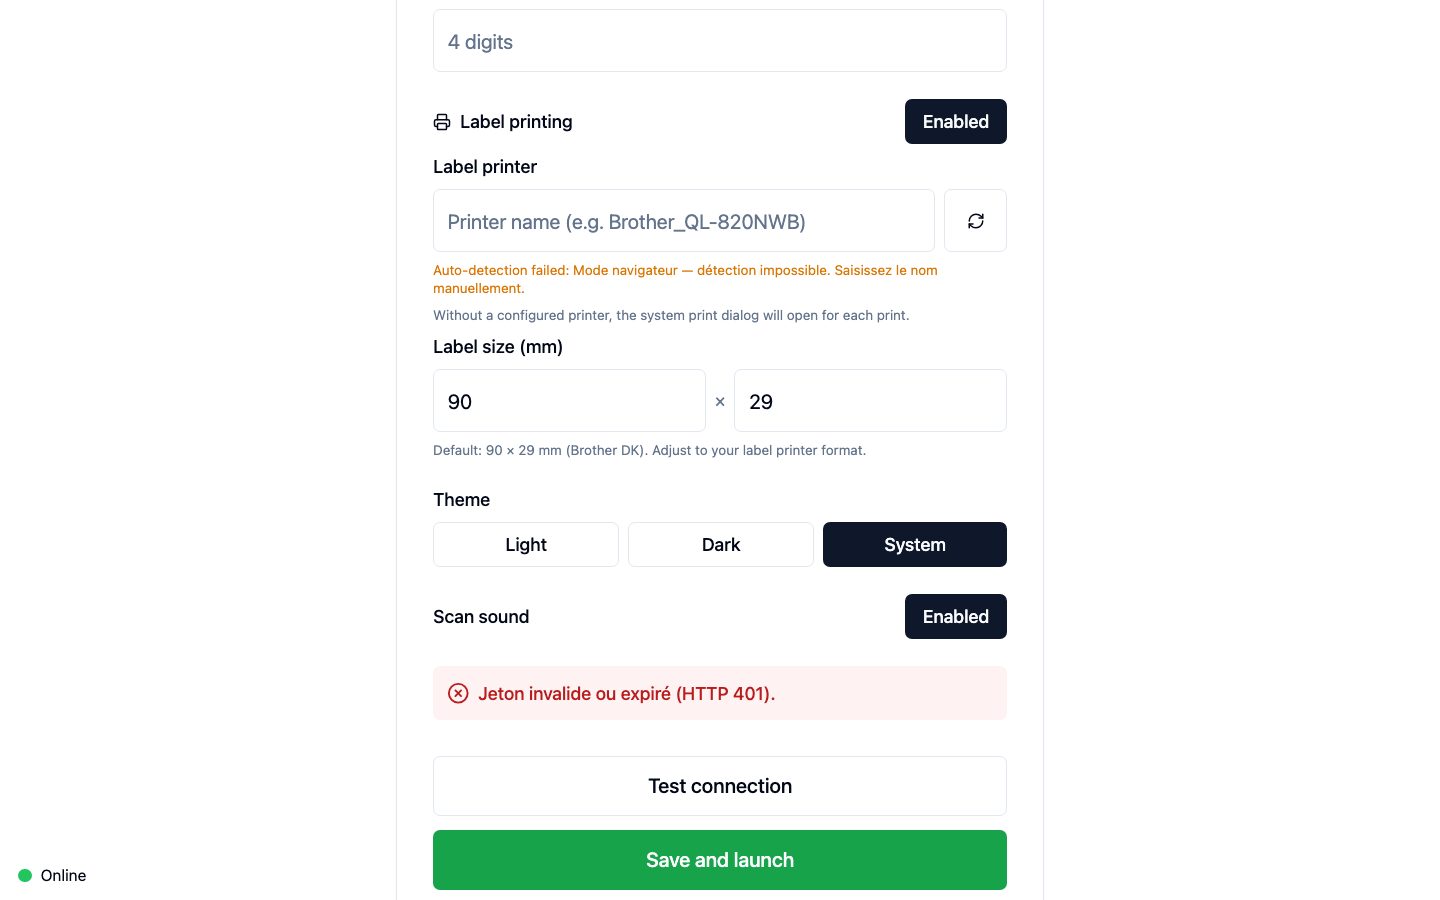
Common Error Messages
| Message | Likely Cause |
|---|---|
| Unable to reach the server. | Incorrect URL or server unreachable |
| Unknown error. | Invalid token or network issue |
Save and Launch
Once the connection is tested successfully, click "Save and Launch" to save the configuration and access the cockpit.
Settings are persisted locally. You won't need to re-enter them on next launch, unless you reset the configuration.
Change Configuration Later
To return to this screen after initial setup:
- From the navigation bar, click the gear icon (⚙️) on the right
- If a PIN code is configured, enter it in the dialog
- The setup screen is displayed with the current values