Getting Started with Stockaj
This guide walks you through your first steps with Stockaj — from creating your account to adding your first items and making your first rental.
Creating Your Account
- Navigate to Stockaj and click Sign Up.
- Enter your name, email address, and a strong password.
- Verify your email by clicking the link sent to your inbox.
- You're in! You'll be taken to the workspace creation wizard.
If you were invited by a teammate, click the invitation link in your email instead. You'll join their existing workspace automatically.
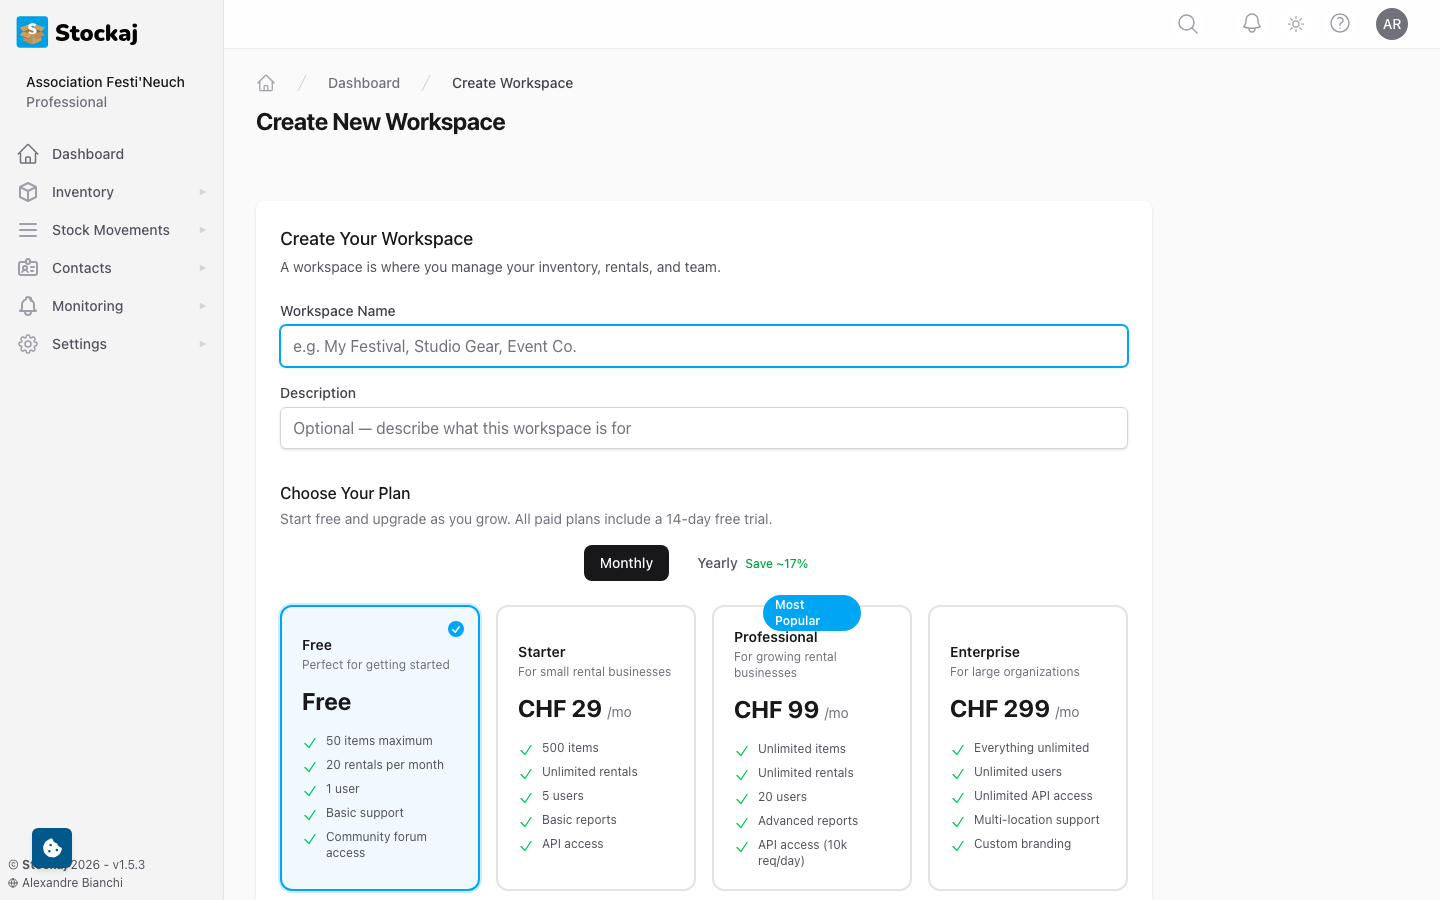
Creating Your First Workspace
After registration, the Create Workspace wizard guides you through setup:
- Choose a Plan — Select the plan that fits your needs (you can start with Free).
- Workspace Details — Give your workspace a name (e.g., "Festival Equipment", "Office Supplies").
- Payment (paid plans only) — Enter your payment details. All paid plans include a 14-day free trial.
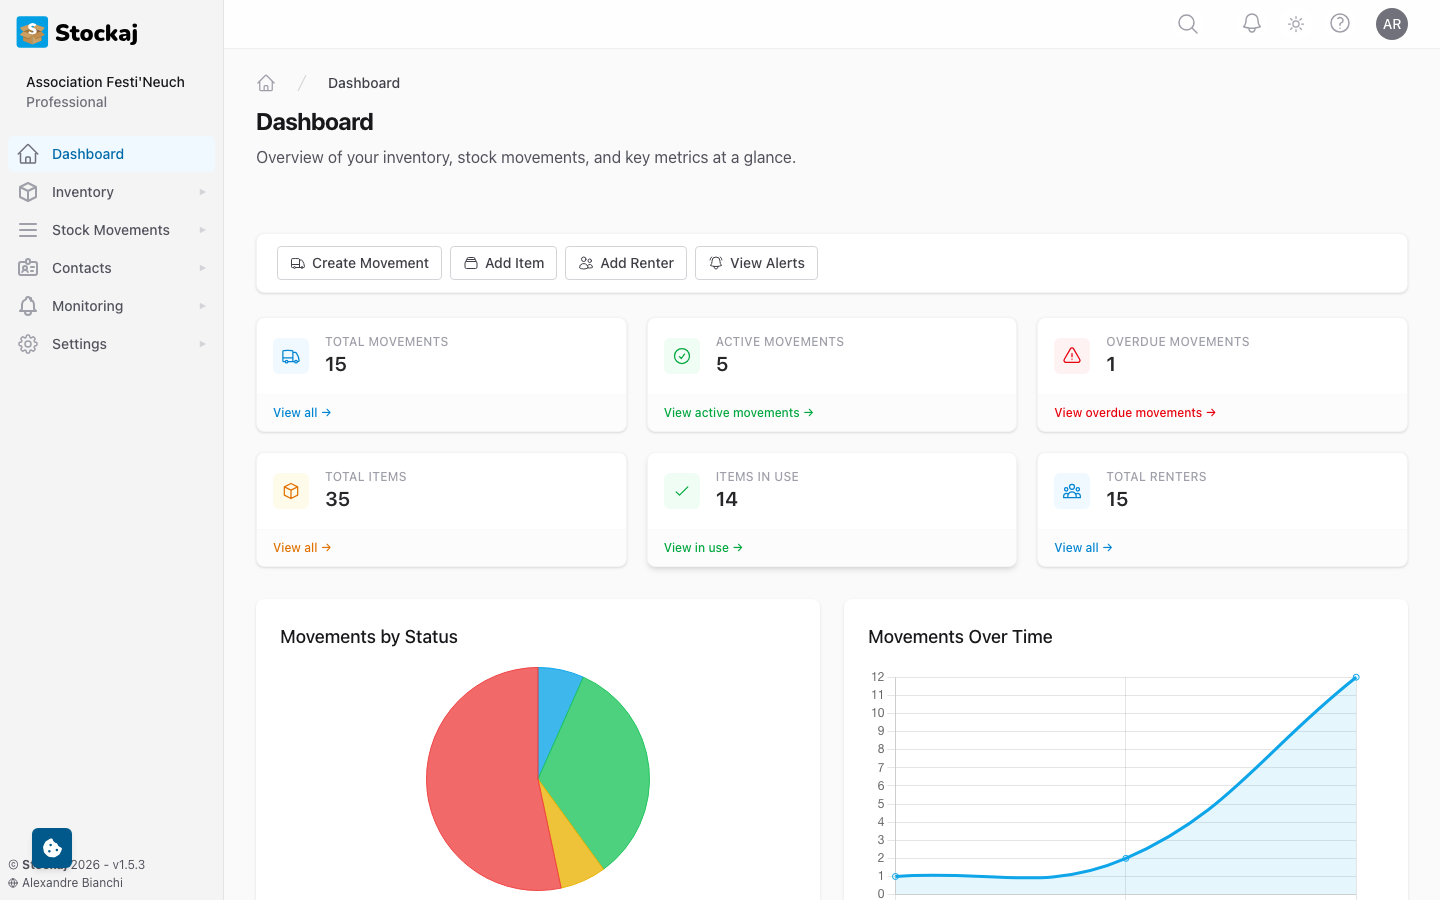
Your Dashboard
Once your workspace is created, you'll land on the Dashboard — your command center for all things inventory and rentals.
Navigation
The sidebar navigation gives you access to all features:
| Section | What it contains |
|---|---|
| Dashboard | Overview and statistics |
| Inventory | Items, Categories, Serial Numbers, Containers, Warehouses |
| Rentals | Rentals list, Prep Board (logistics) |
| Contacts | Renters, Addresses |
| Monitoring | Alerts |
| Settings | General, Tags, Users & Roles, Webhooks, Alert Rules, Label Templates, API Tokens, Subscription |
Some sections may not be visible depending on your role and permissions.
Adding Your First Items
- Go to Inventory → Items in the sidebar.
- Click the + New Item button.
- Fill in the item details:
- Name — What is this item? (e.g., "Folding Table")
- Category — Select or create a category (e.g., "Furniture")
- Quantity — How many do you have?
- Click Create.
Your first item is now in your inventory! You can add more details later, including tags, photos, and custom fields.
→ Learn more in Managing Items.
Creating Your First Rental
- Go to Rentals in the sidebar.
- Click + New Rental.
- Select a Renter (or create one on the fly).
- Add items from your inventory with quantities.
- Optionally set an Expected Return Date.
- Click Create Rental.
Your rental starts in the In Treatment status. You can advance it through the workflow as items are prepared, dispatched, and eventually returned.
→ Learn more in Managing Rentals.
What's Next?
Now that you have the basics, explore these features:
- Categories & Tags — Organize your inventory
- Serial Numbers — Track individual items
- QR Codes & Scanning — Speed up check-in/check-out
- Team Management — Invite your team
- Alerts — Set up notifications for overdue items